First Time Setup
Part 1. Setting up your account
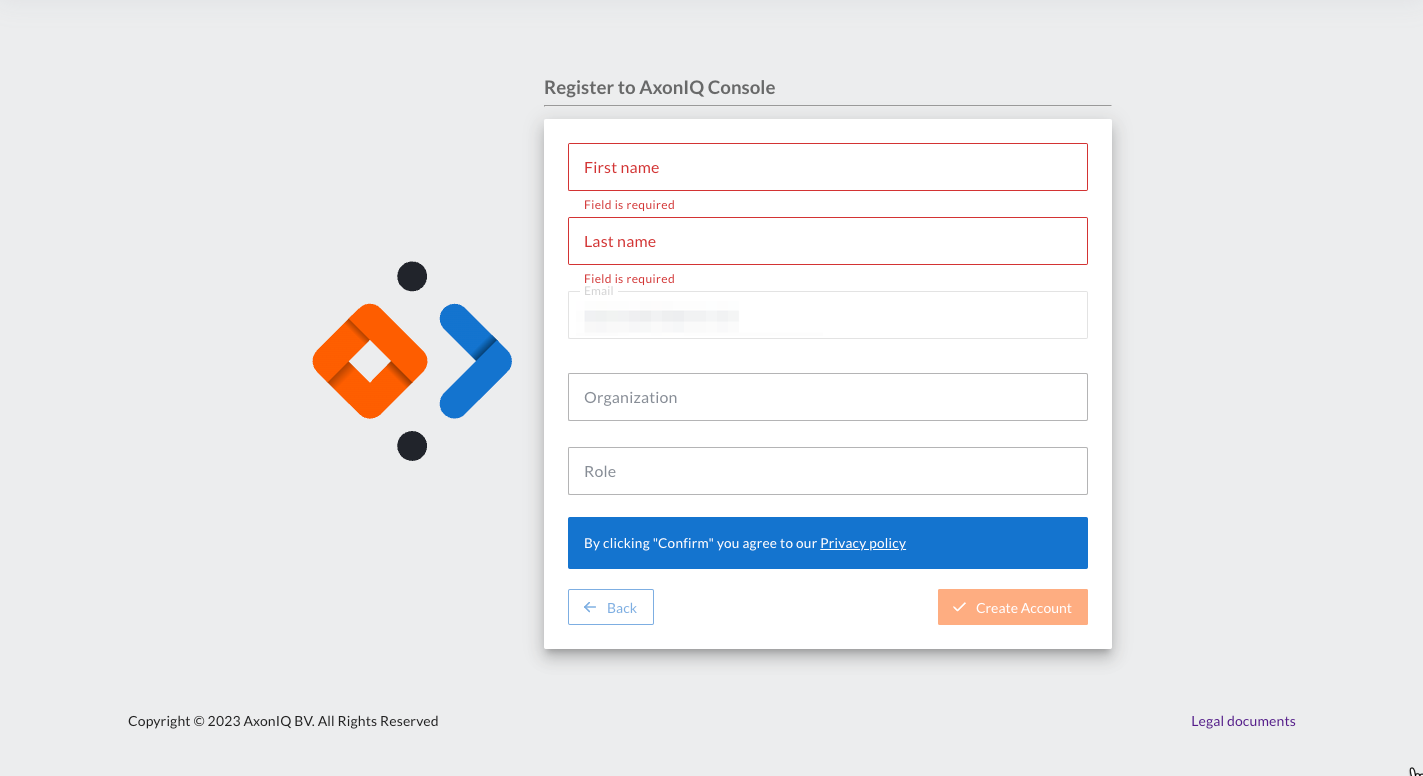
As a first-time user, you will be presented with a 3-step process to set up your account. As shown below, the first step after successful authentication is to provide basic information about yourself and your company.
Provide the necessary information and click the "Continue" button.
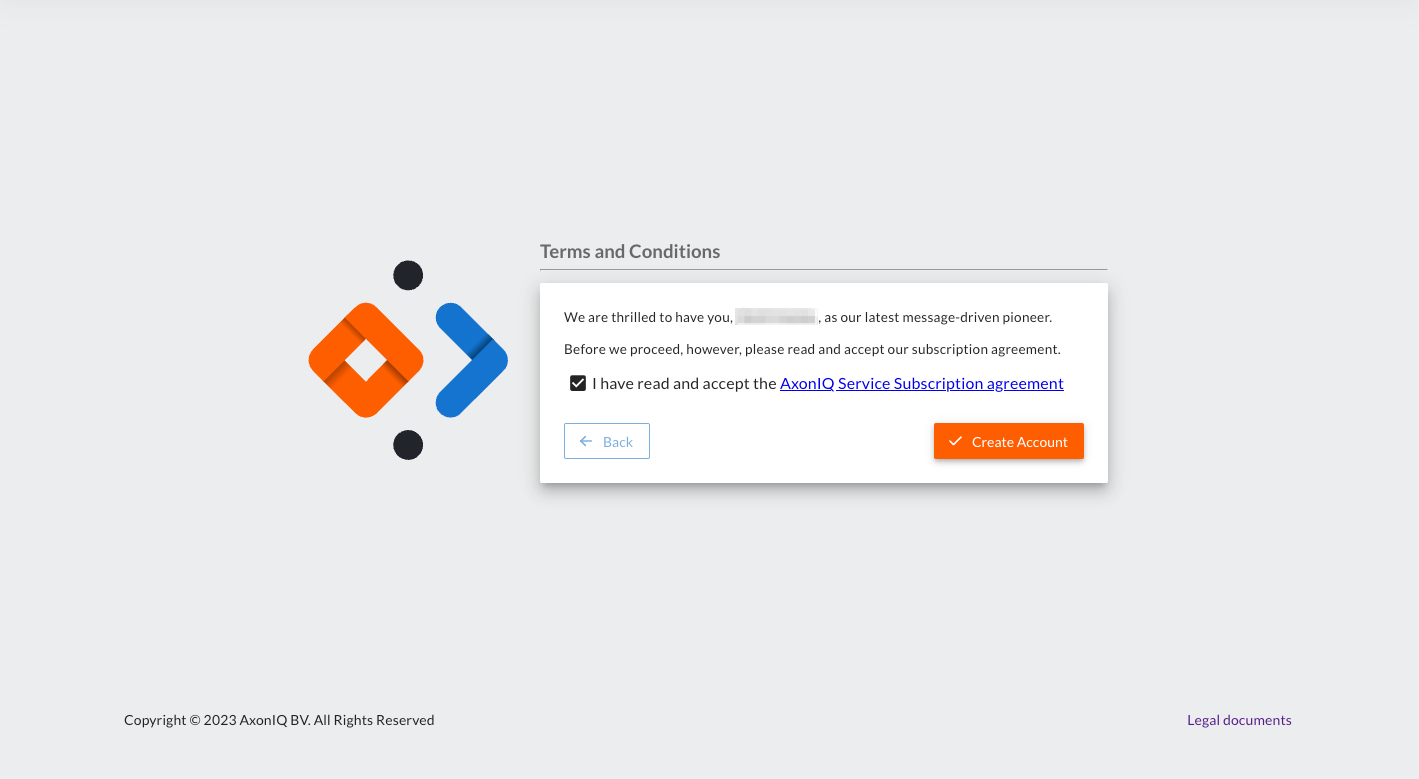
After clicking on the 'Create Account' you will be presented with a screen to accept the AxonIQ Servce Subscription agreement.
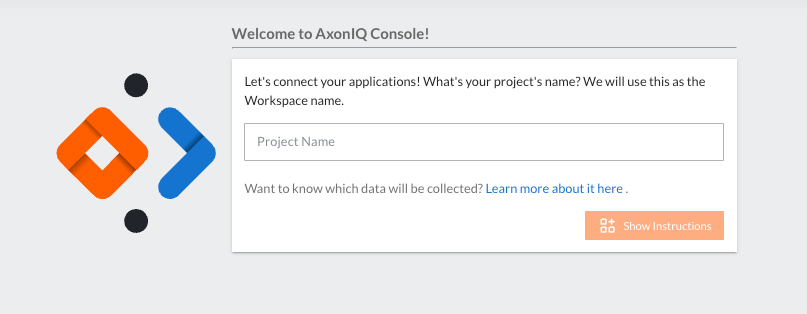
Part 2. Setting up your workspace
One of the most important aspects of the AxonIQ Console is your Workspace. Workspaces are collections of users and environments that allow teams and departments to define an instance (or group of instances) of AxonIQ technologies.
Provide a name for your Workspace.
Part 3. Creating a new environment
After setting up your Workspace, the next step is to specify the name of the Environment that you plan to work in. So, what exactly is an Environment?
Environments play a crucial role for both Axon Server instances and Axon Framework applications. For apps that utilize Axon Framework, they report their metrics within the Environment itself. When using Axon Server, all server instances with the Environment can be discovered, viewed, and managed.
Environments allow you to specify deployment scenarios such as:
-
Development
-
Testing
-
Pre-production
-
Production
Therefore, Environments are extremely versatile logical groupings for your Axon Server instances. For example, if you want to separate your Axon Server instances by geographic regions, you can name them according to their location, such as:
-
North America
-
Europe
-
Asia
-
Rest of the World
The best practice is to specify a name for the Environment with an idea of other Environments that you may want to create in the future.
Provide a name for your Environment and click the "Create Workspace" button.
