Installation
To quickly get started with Axon Synapse, here are all the steps necessary to download and install Axon Synapse, Axon Server, and a basic demo application.
Prerequisites
Both Axon Synapse and Axon Server are standalone Java executables. Therefore, you need a development environment that supports Java and Maven to accomplish the steps in this guide.
Download the AxonIQ quick start toolkit
The "AxonIQ Quick Start Toolkit" package is available at https://download.axoniq.io/quickstart/AxonQuickStart.zip.
The zip file contains the Axon Server (Standard Edition) and a sample Giftcard application, which you can use as an example application.
Move the AxonQuickStart.zip to your preferred location and unzip the file.
Run the Axon Server
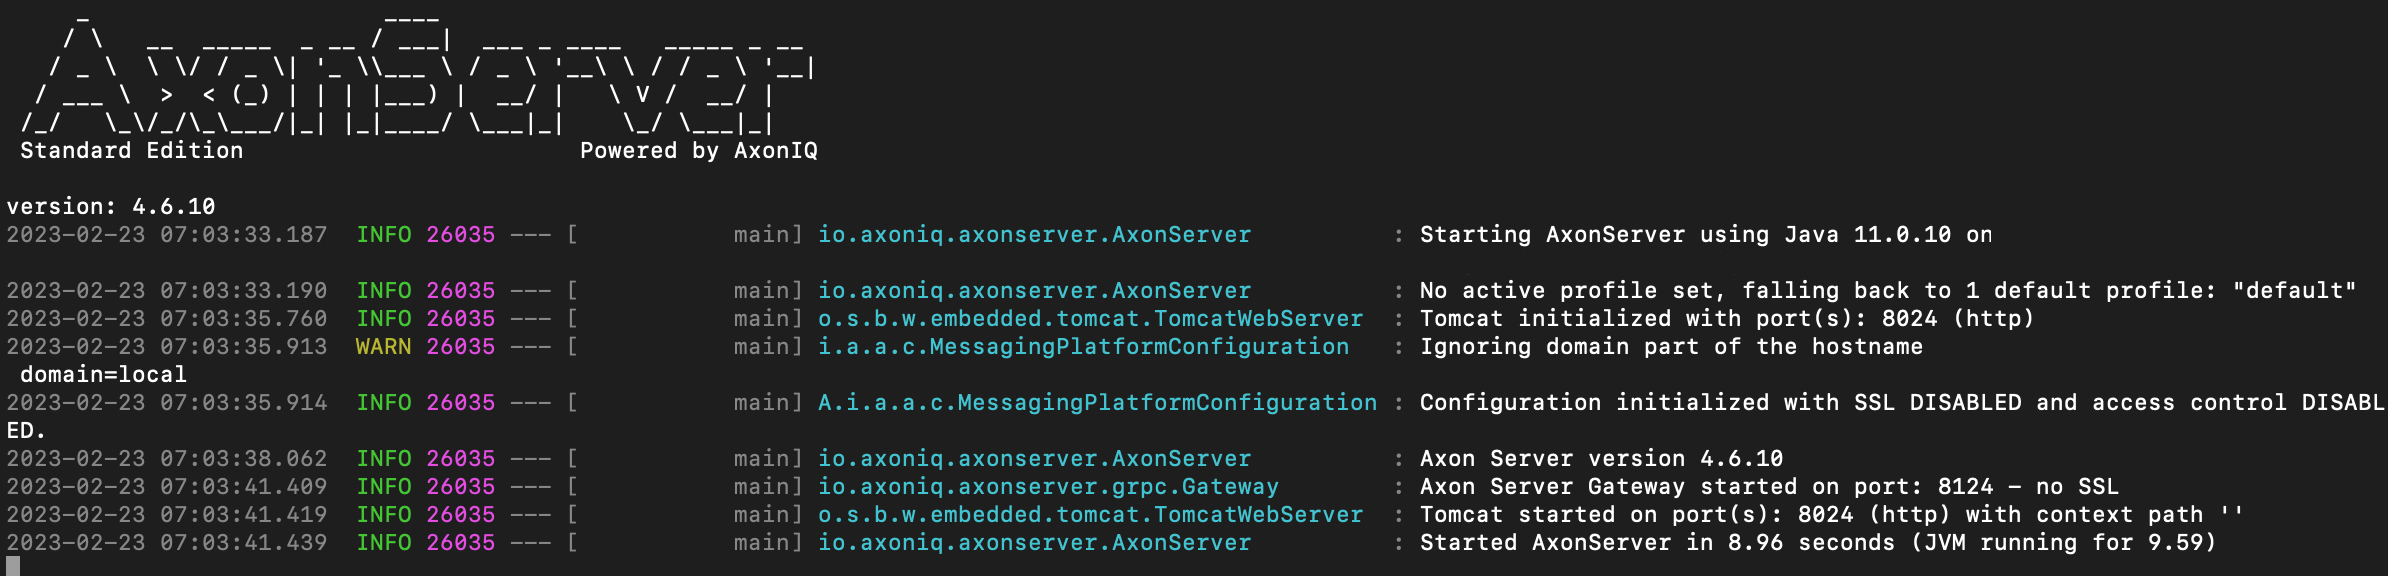
The first step is to get the Axon Server up and running since it’s the central point of communication in this example. To run the Axon Server, open a terminal window and cd to the folder where you unzipped the Quick Start file and execute the following command
$ java -jar AxonServer/axonserver-{VERSION}.jarIf your system can correctly execute JAR files, you should see the following status message on the command terminal.
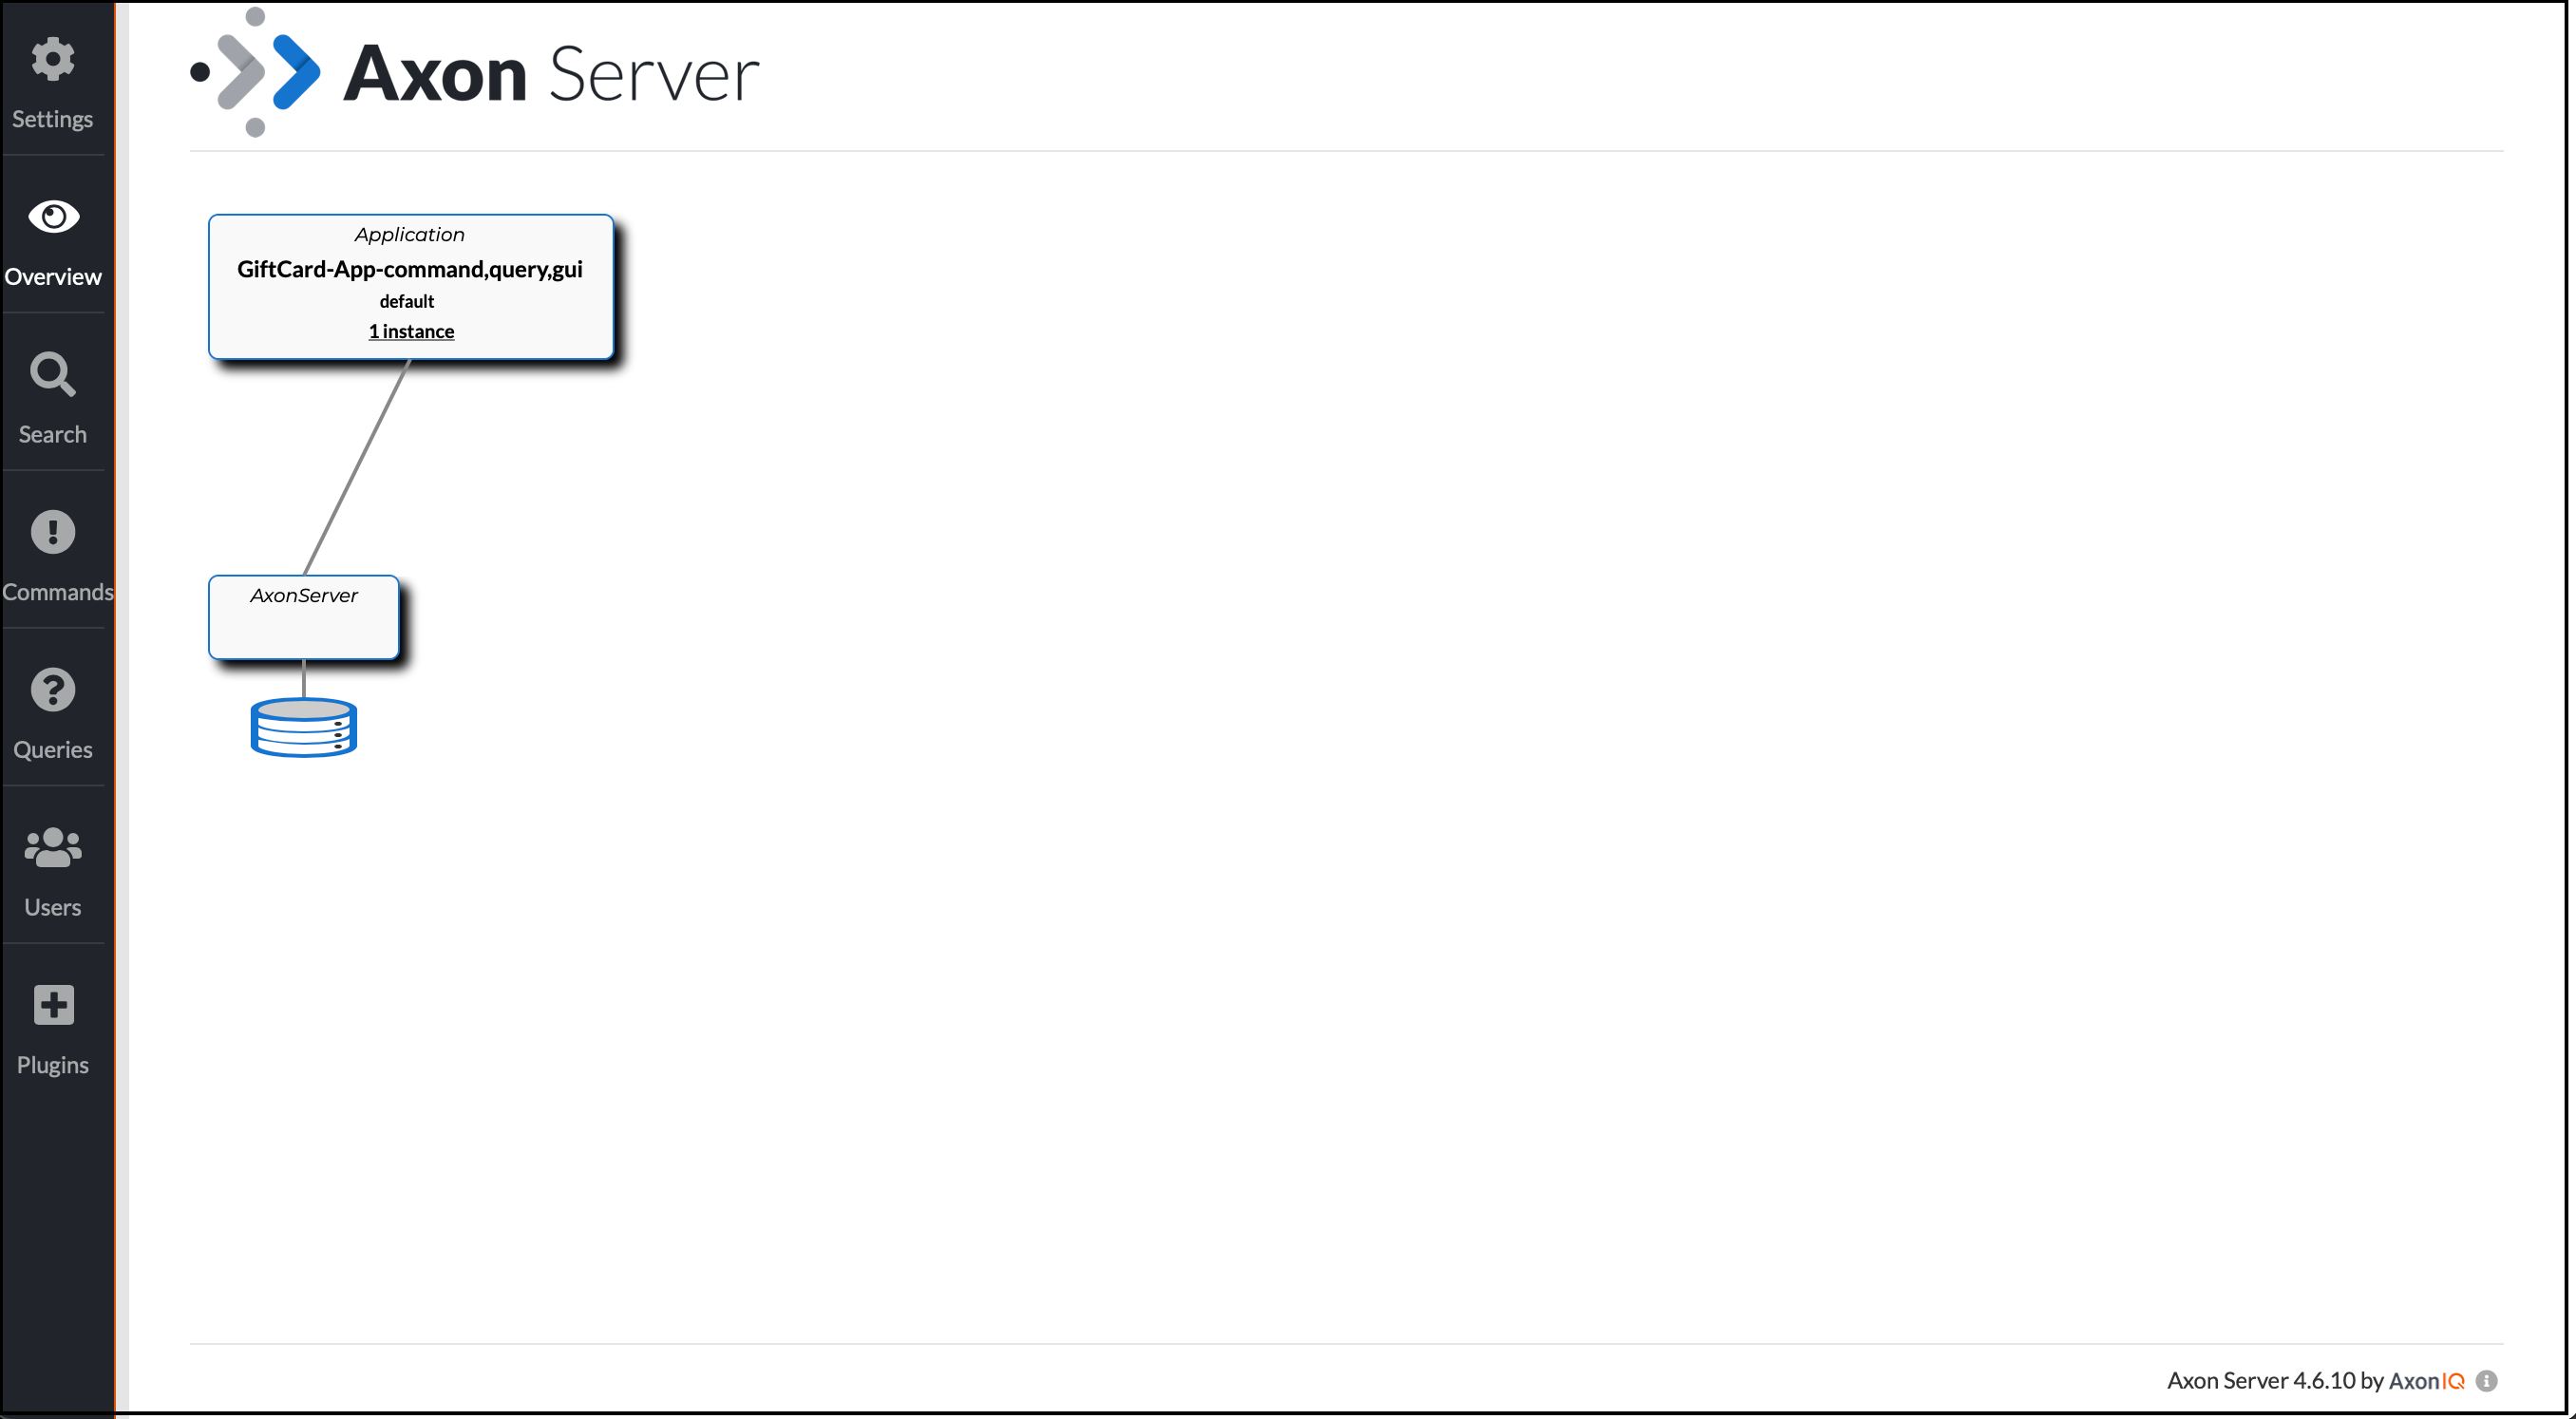
Now you can visit the Axon Server’s Dashboard running on port 8024. It should look like the screenshot below.
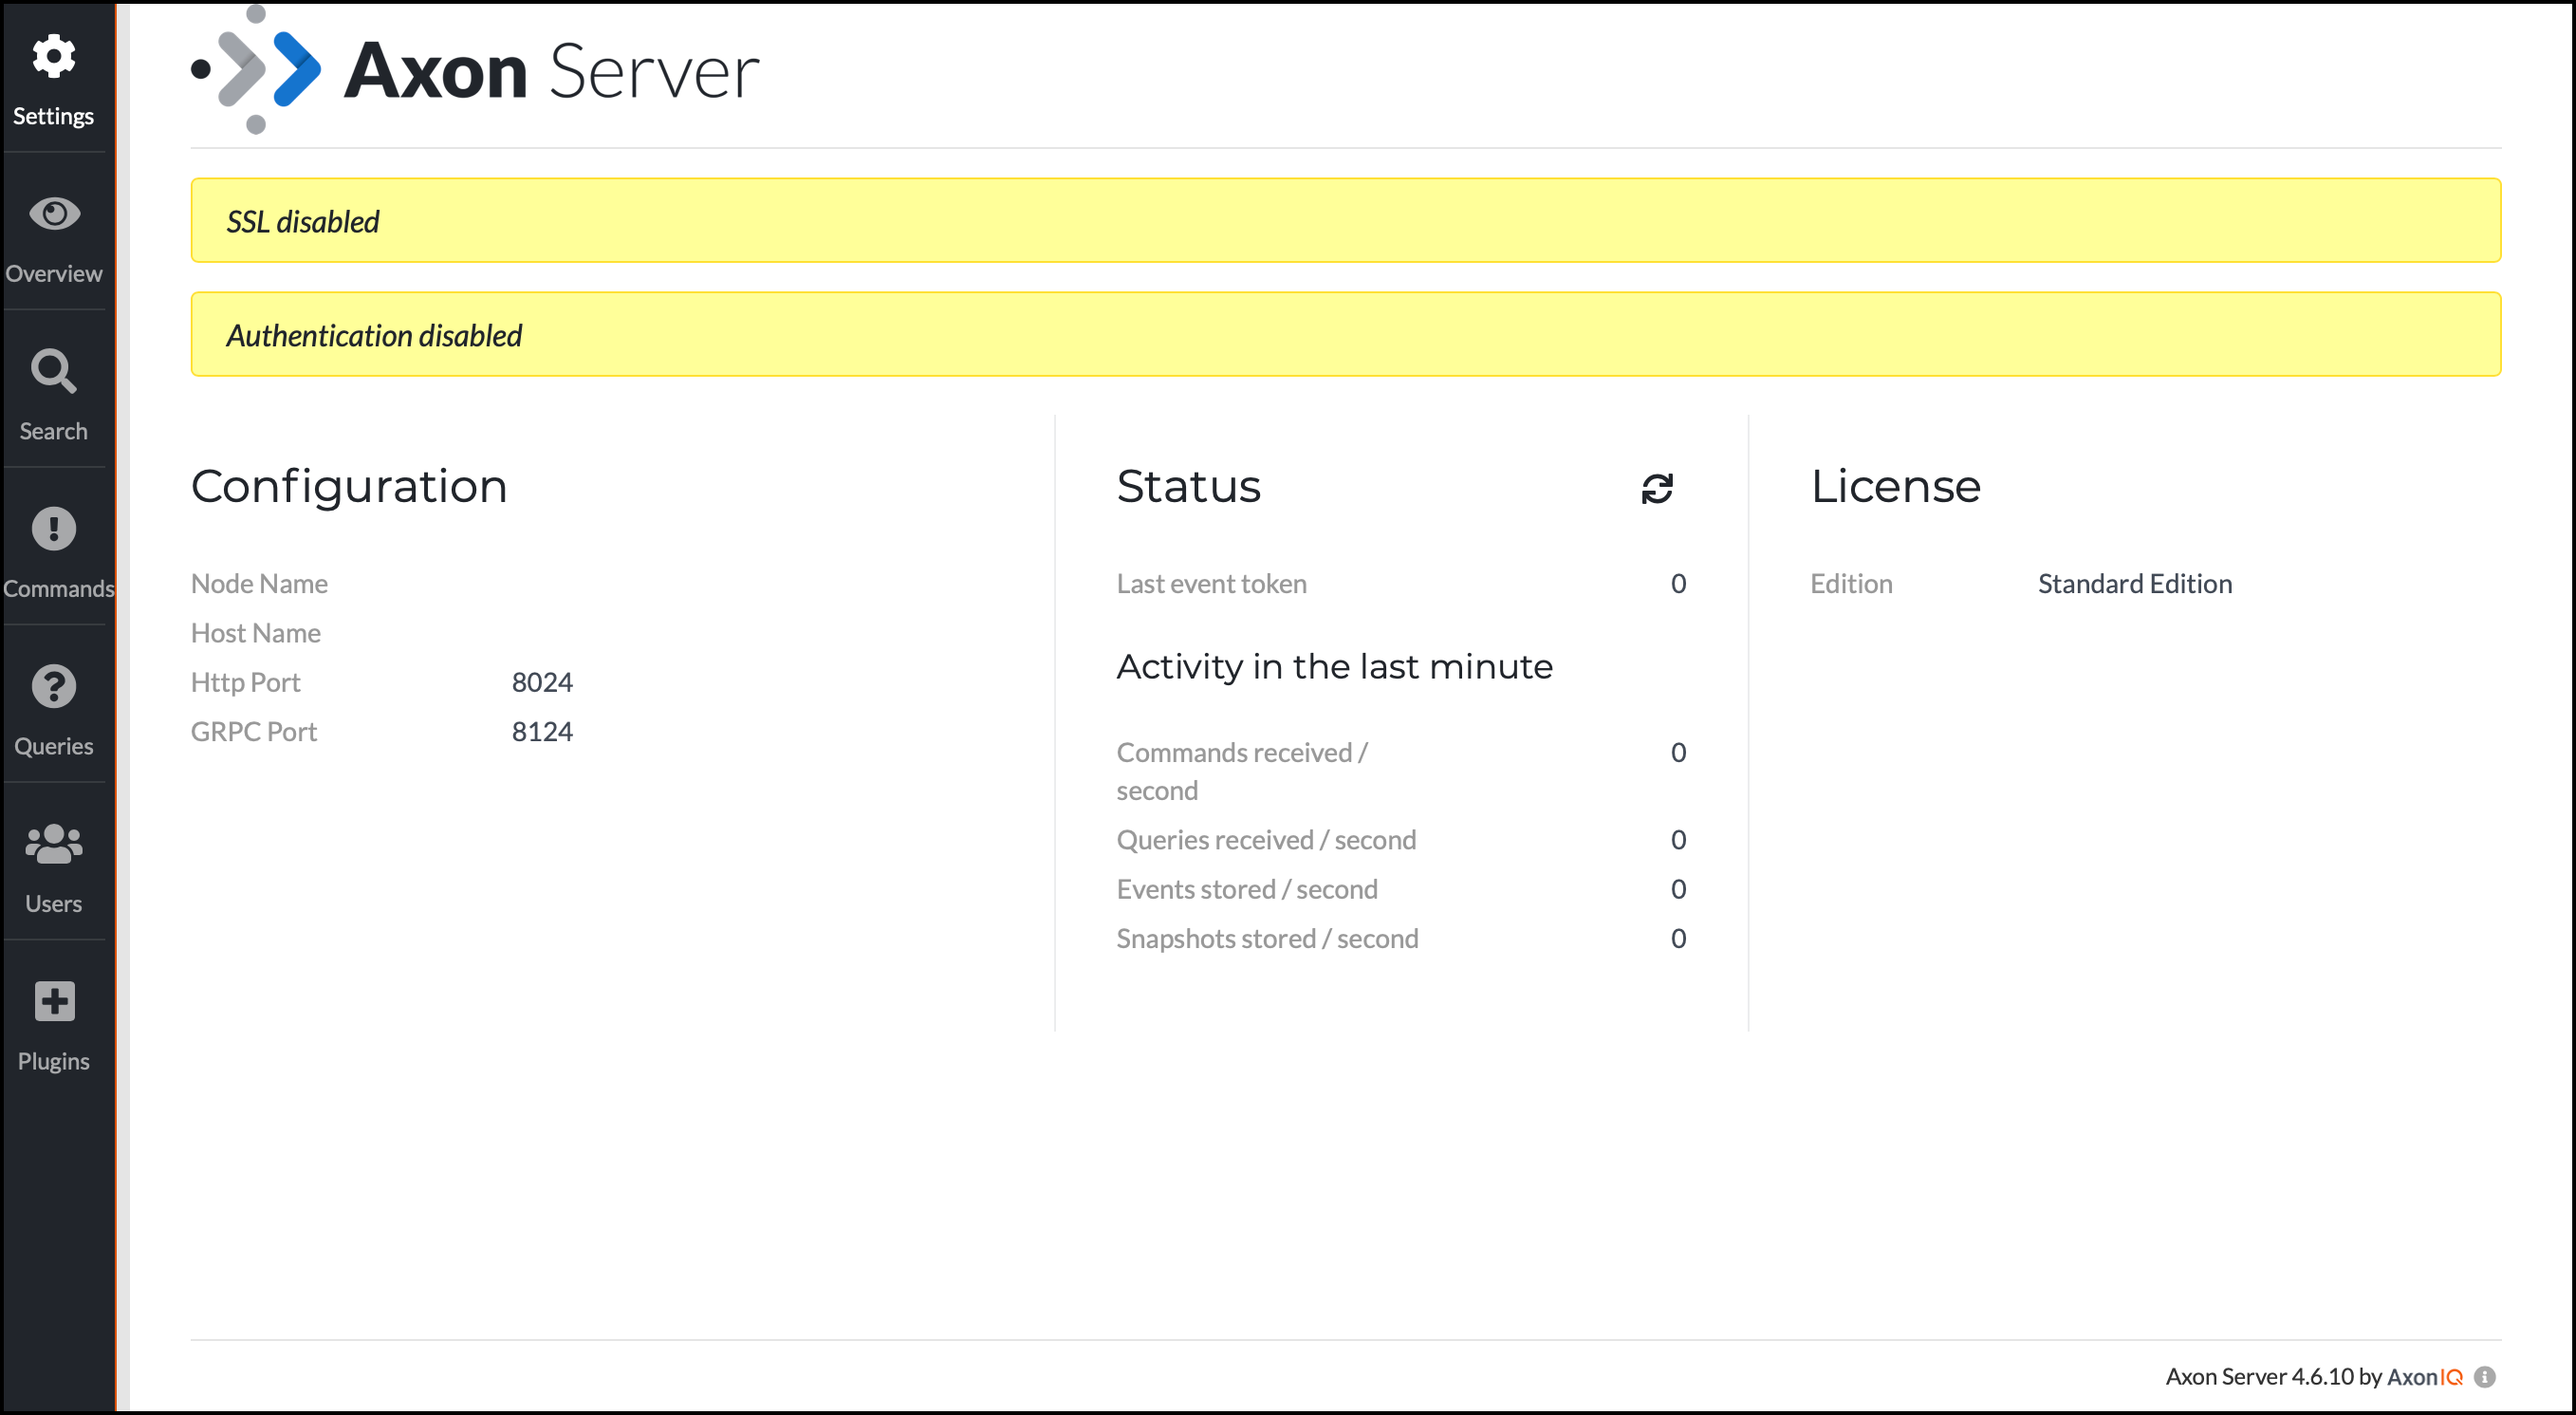
Click on the "Overview" tab on the left side to see a list of applications connected to your Axon Server instance.
You only have the Axon Server running right now.
Run the Giftcard demo application
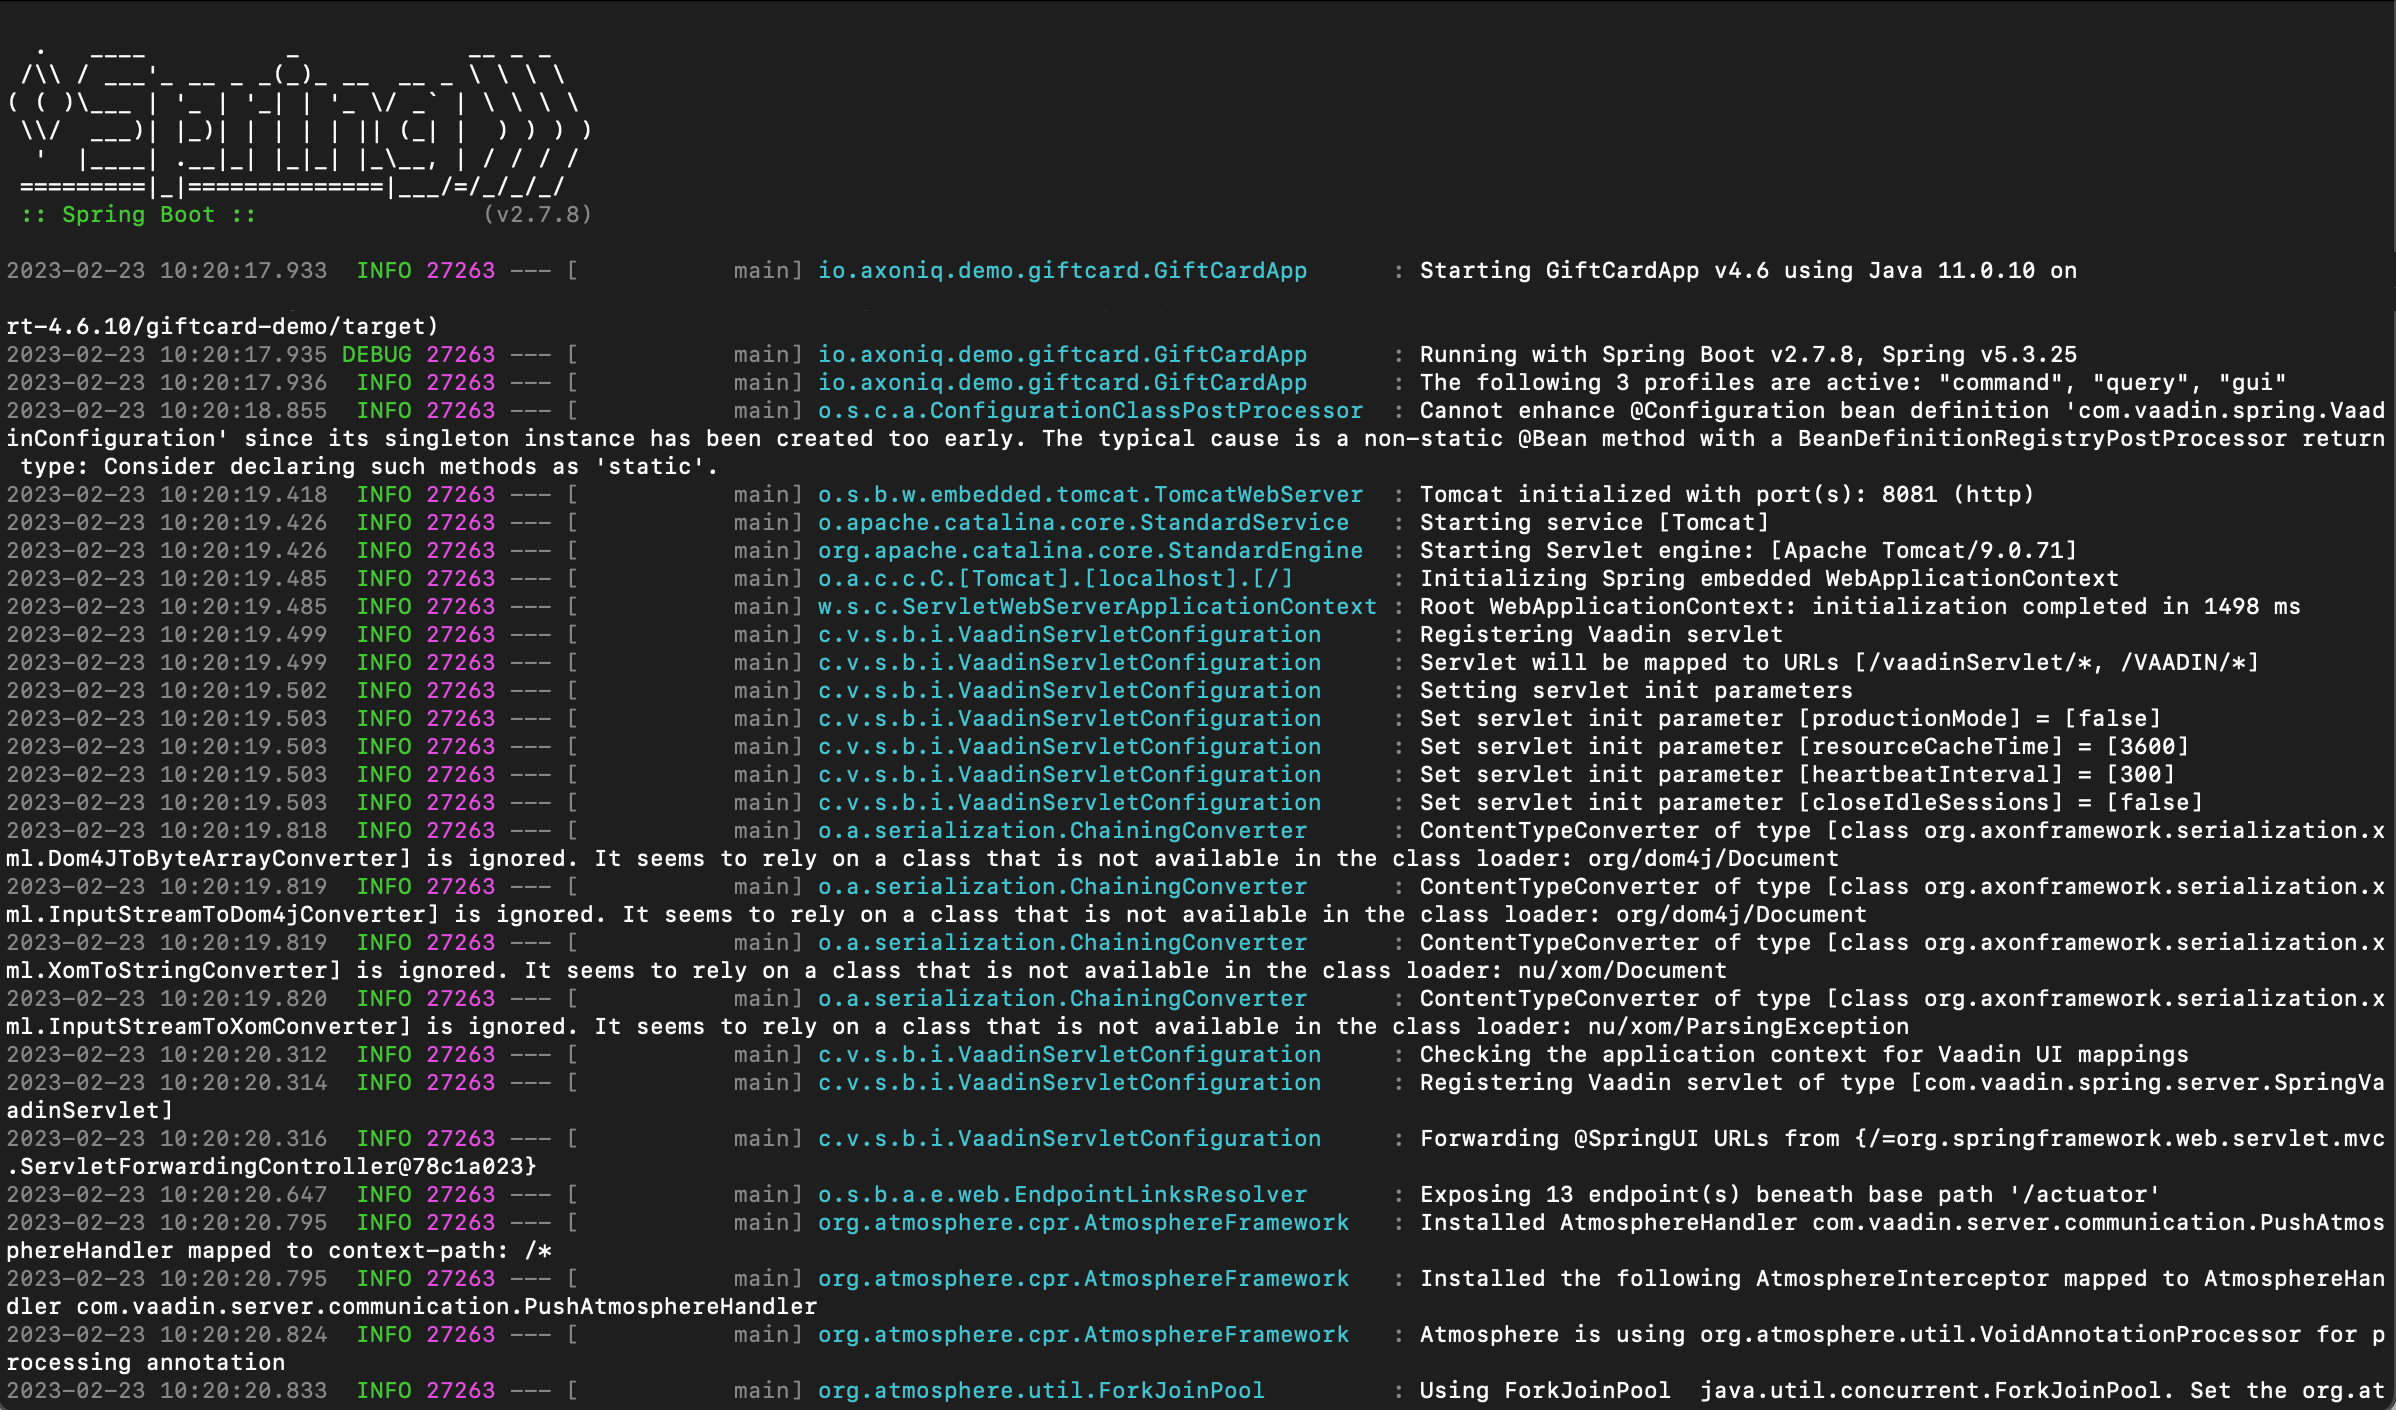
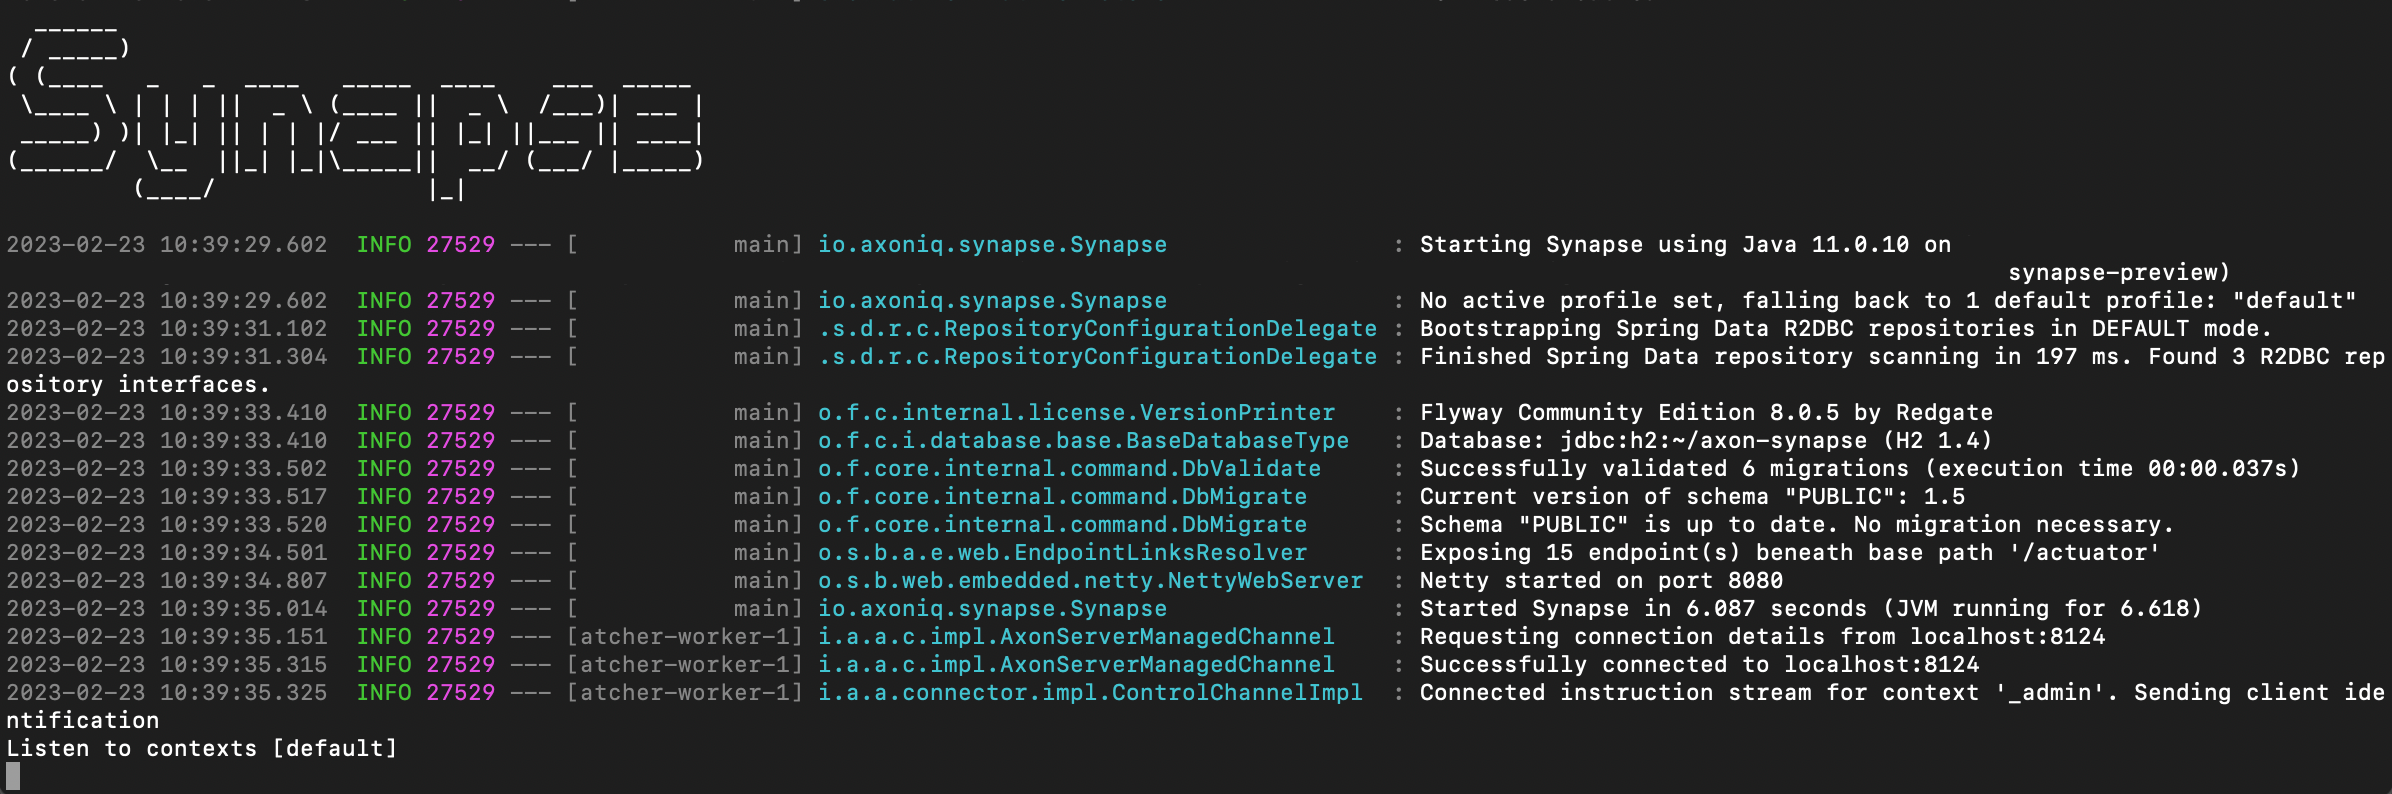
Before you can run the Giftcard demo application, you need to build it. Use your preferred IDE or build tool to do so. Then execute the JAR file in a new terminal window.
$ java -jar ./giftcard-demo-{VERSION}.jar --server.port=8081In the command above, you’re telling the Giftcard app to use port 8081. Otherwise, it would bind to its default port (8080) which would conflict with Axon Synapse. You should see the following status message on the command terminal if the application starts correctly.
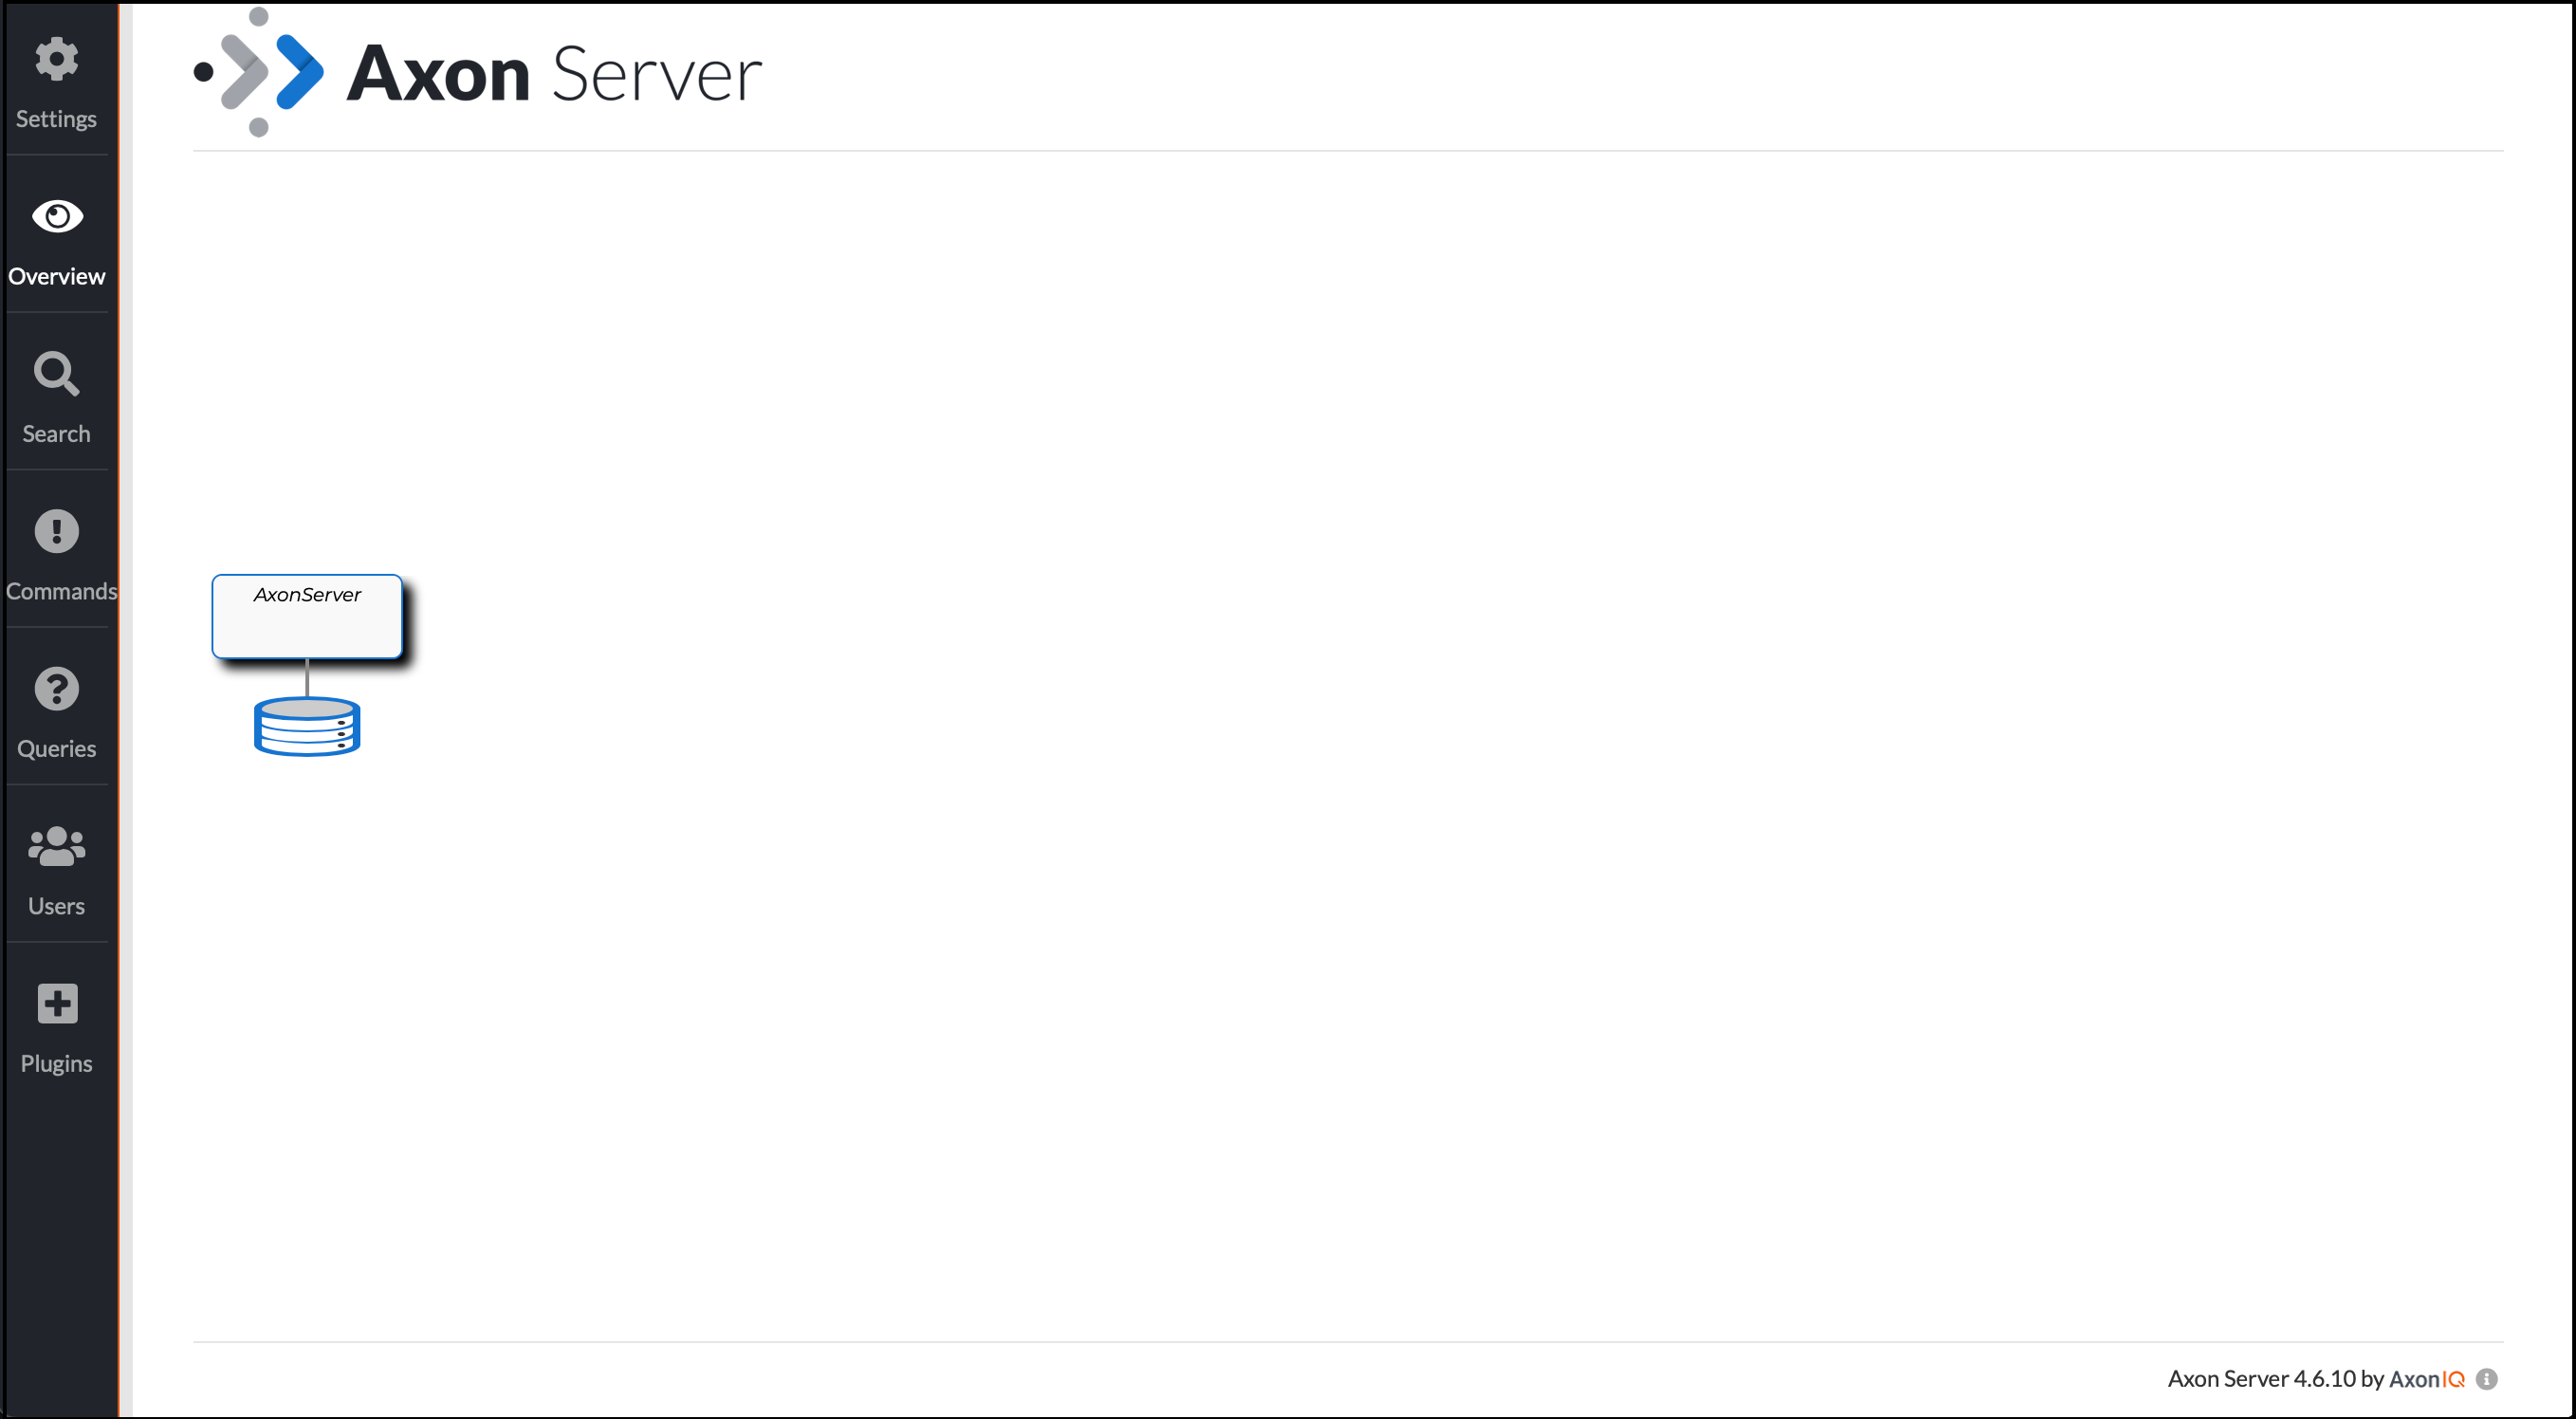
Now that the Giftcard app is running, look again at the Axon Server’s Dashboard on port 8024.
You can see that the Giftcard app has successfully connected to Axon Server. The final step is to download and install Axon Synapse.
Download the Axon Synapse
The Axon Synapse is available for download at https://download.axoniq.io/axonserver/axon-synapse.zip.
The zip file contains the Axon Synapse as an executable JAR file. Move the JAR file to your preferred location.
Run the Axon Synapse
To run the Axon Synapse, open a terminal window, and cd to the folder where you moved the JAR file, and execute the JAR file.
$ java -jar axon-synapse.jarYou should see the following status message on the command terminal.
Now that you have Axon Synapse running, take one final look at the Axon Server’s Dashboard on port 8024.
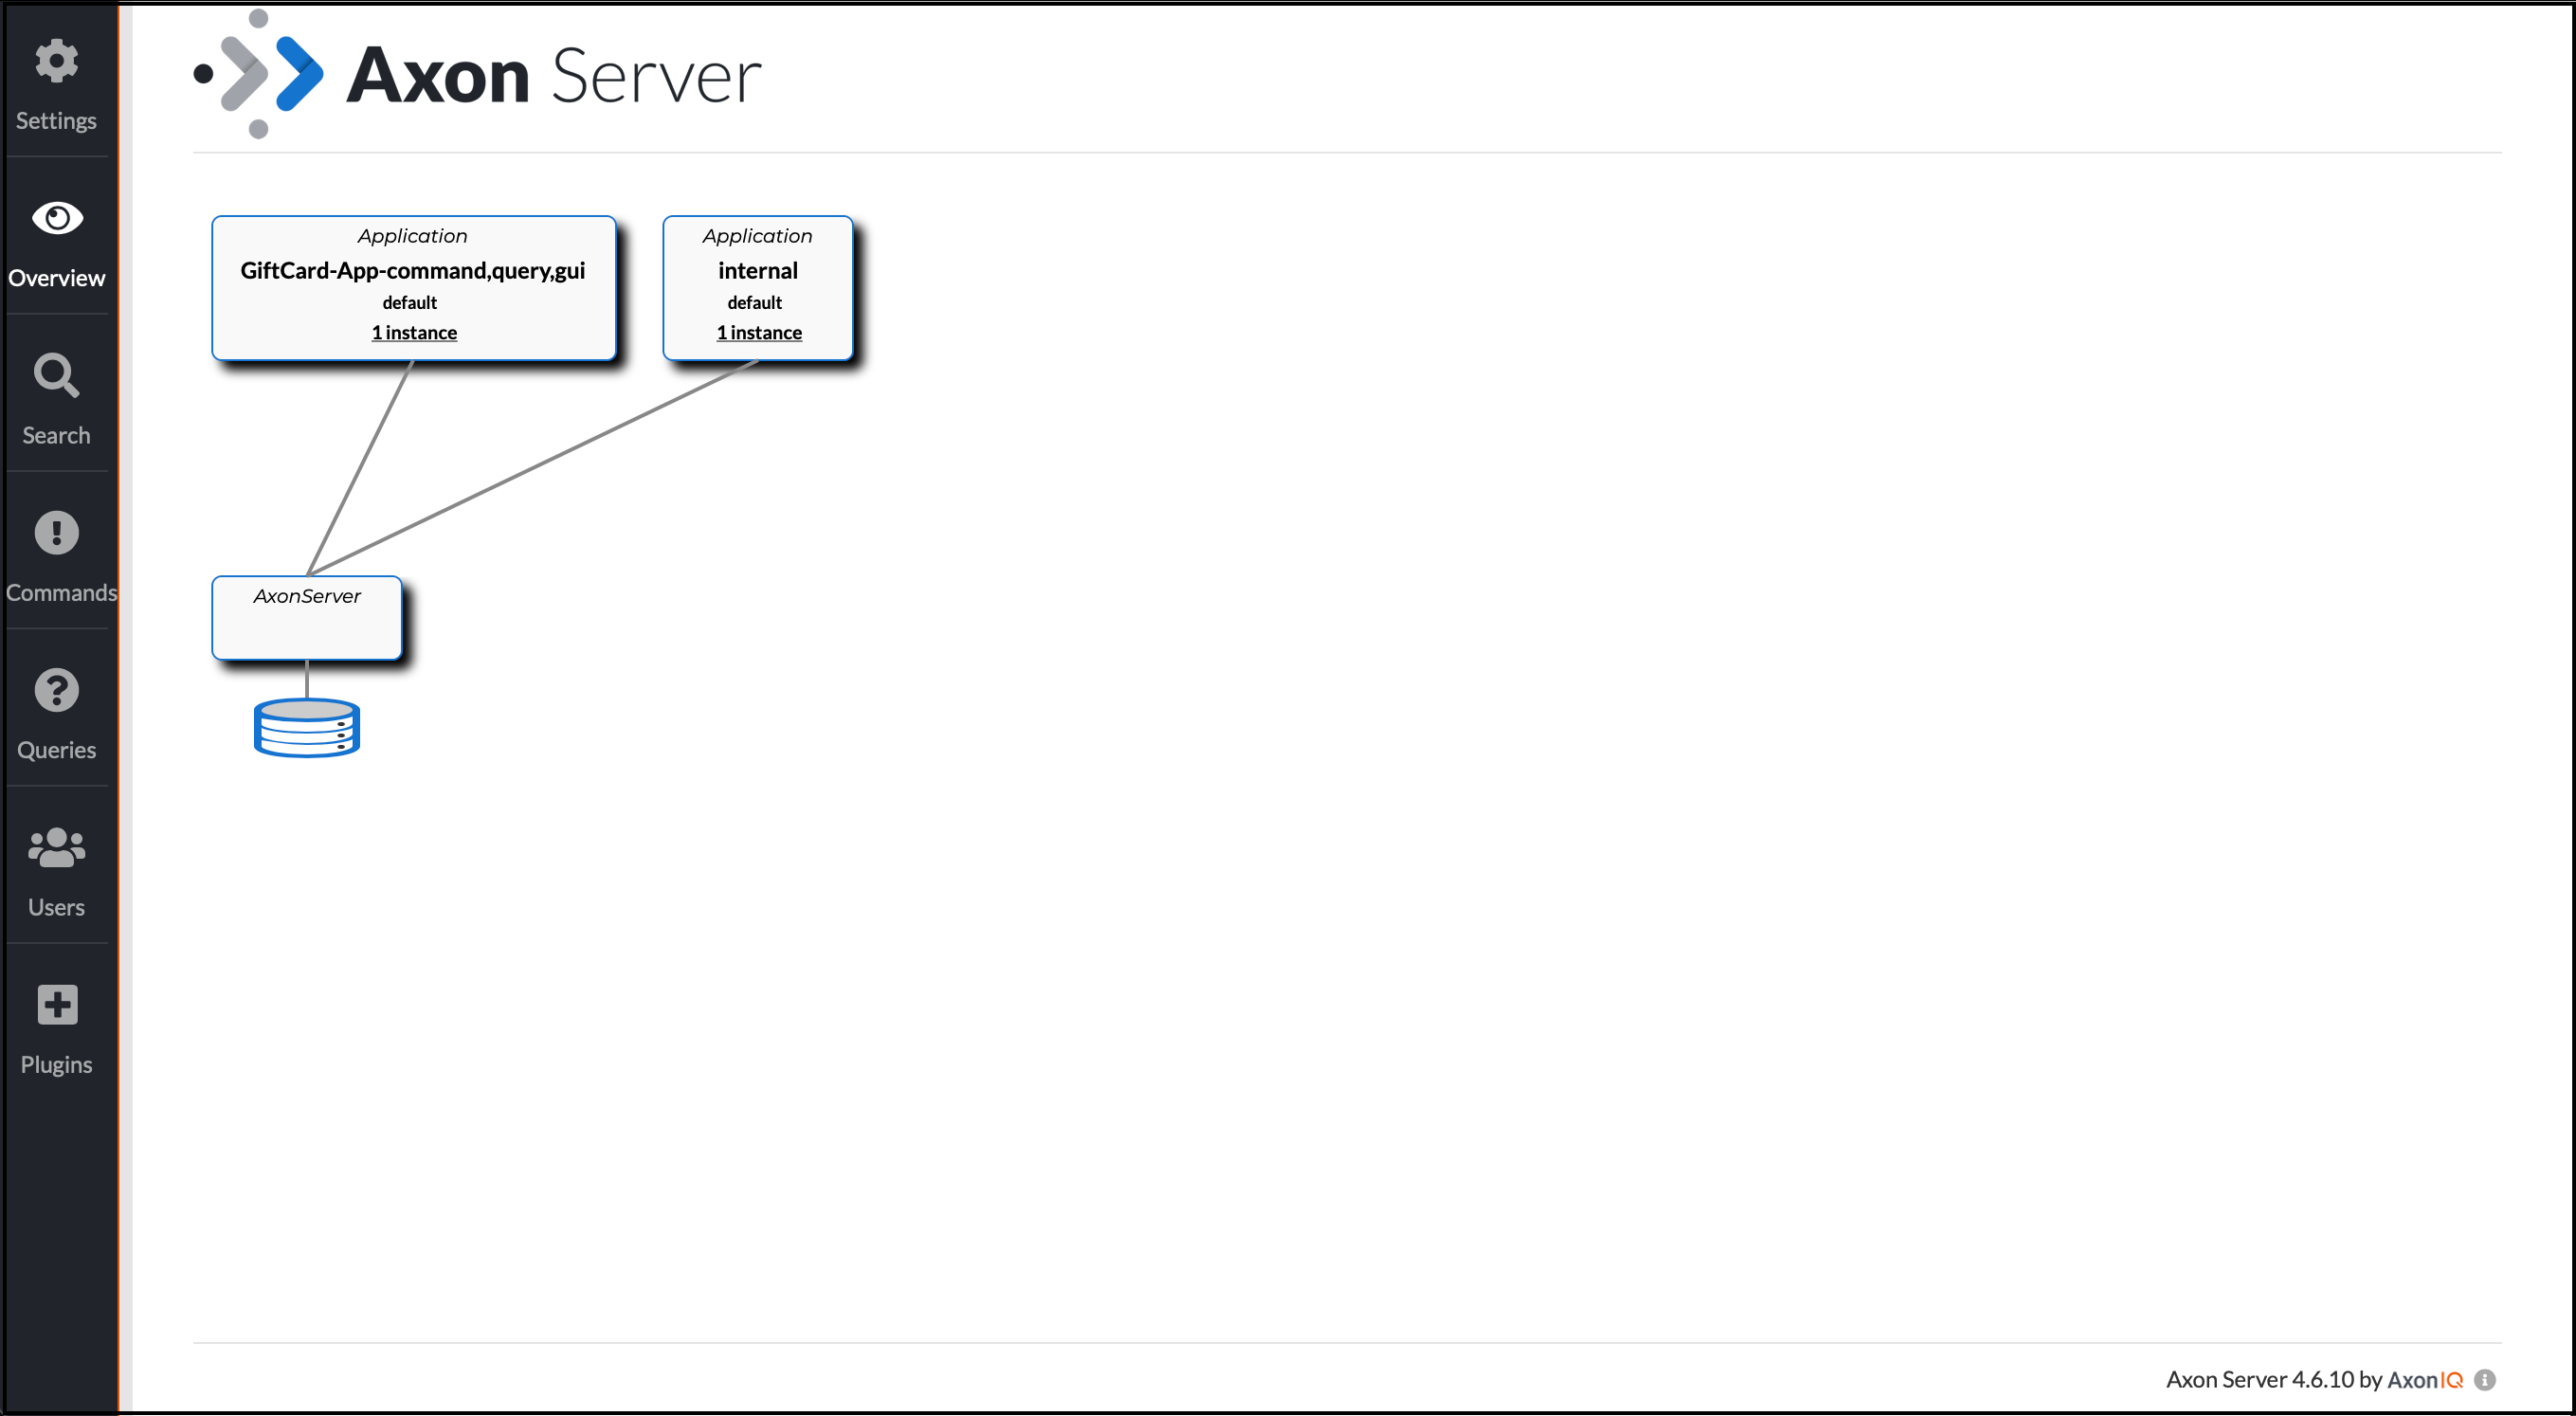
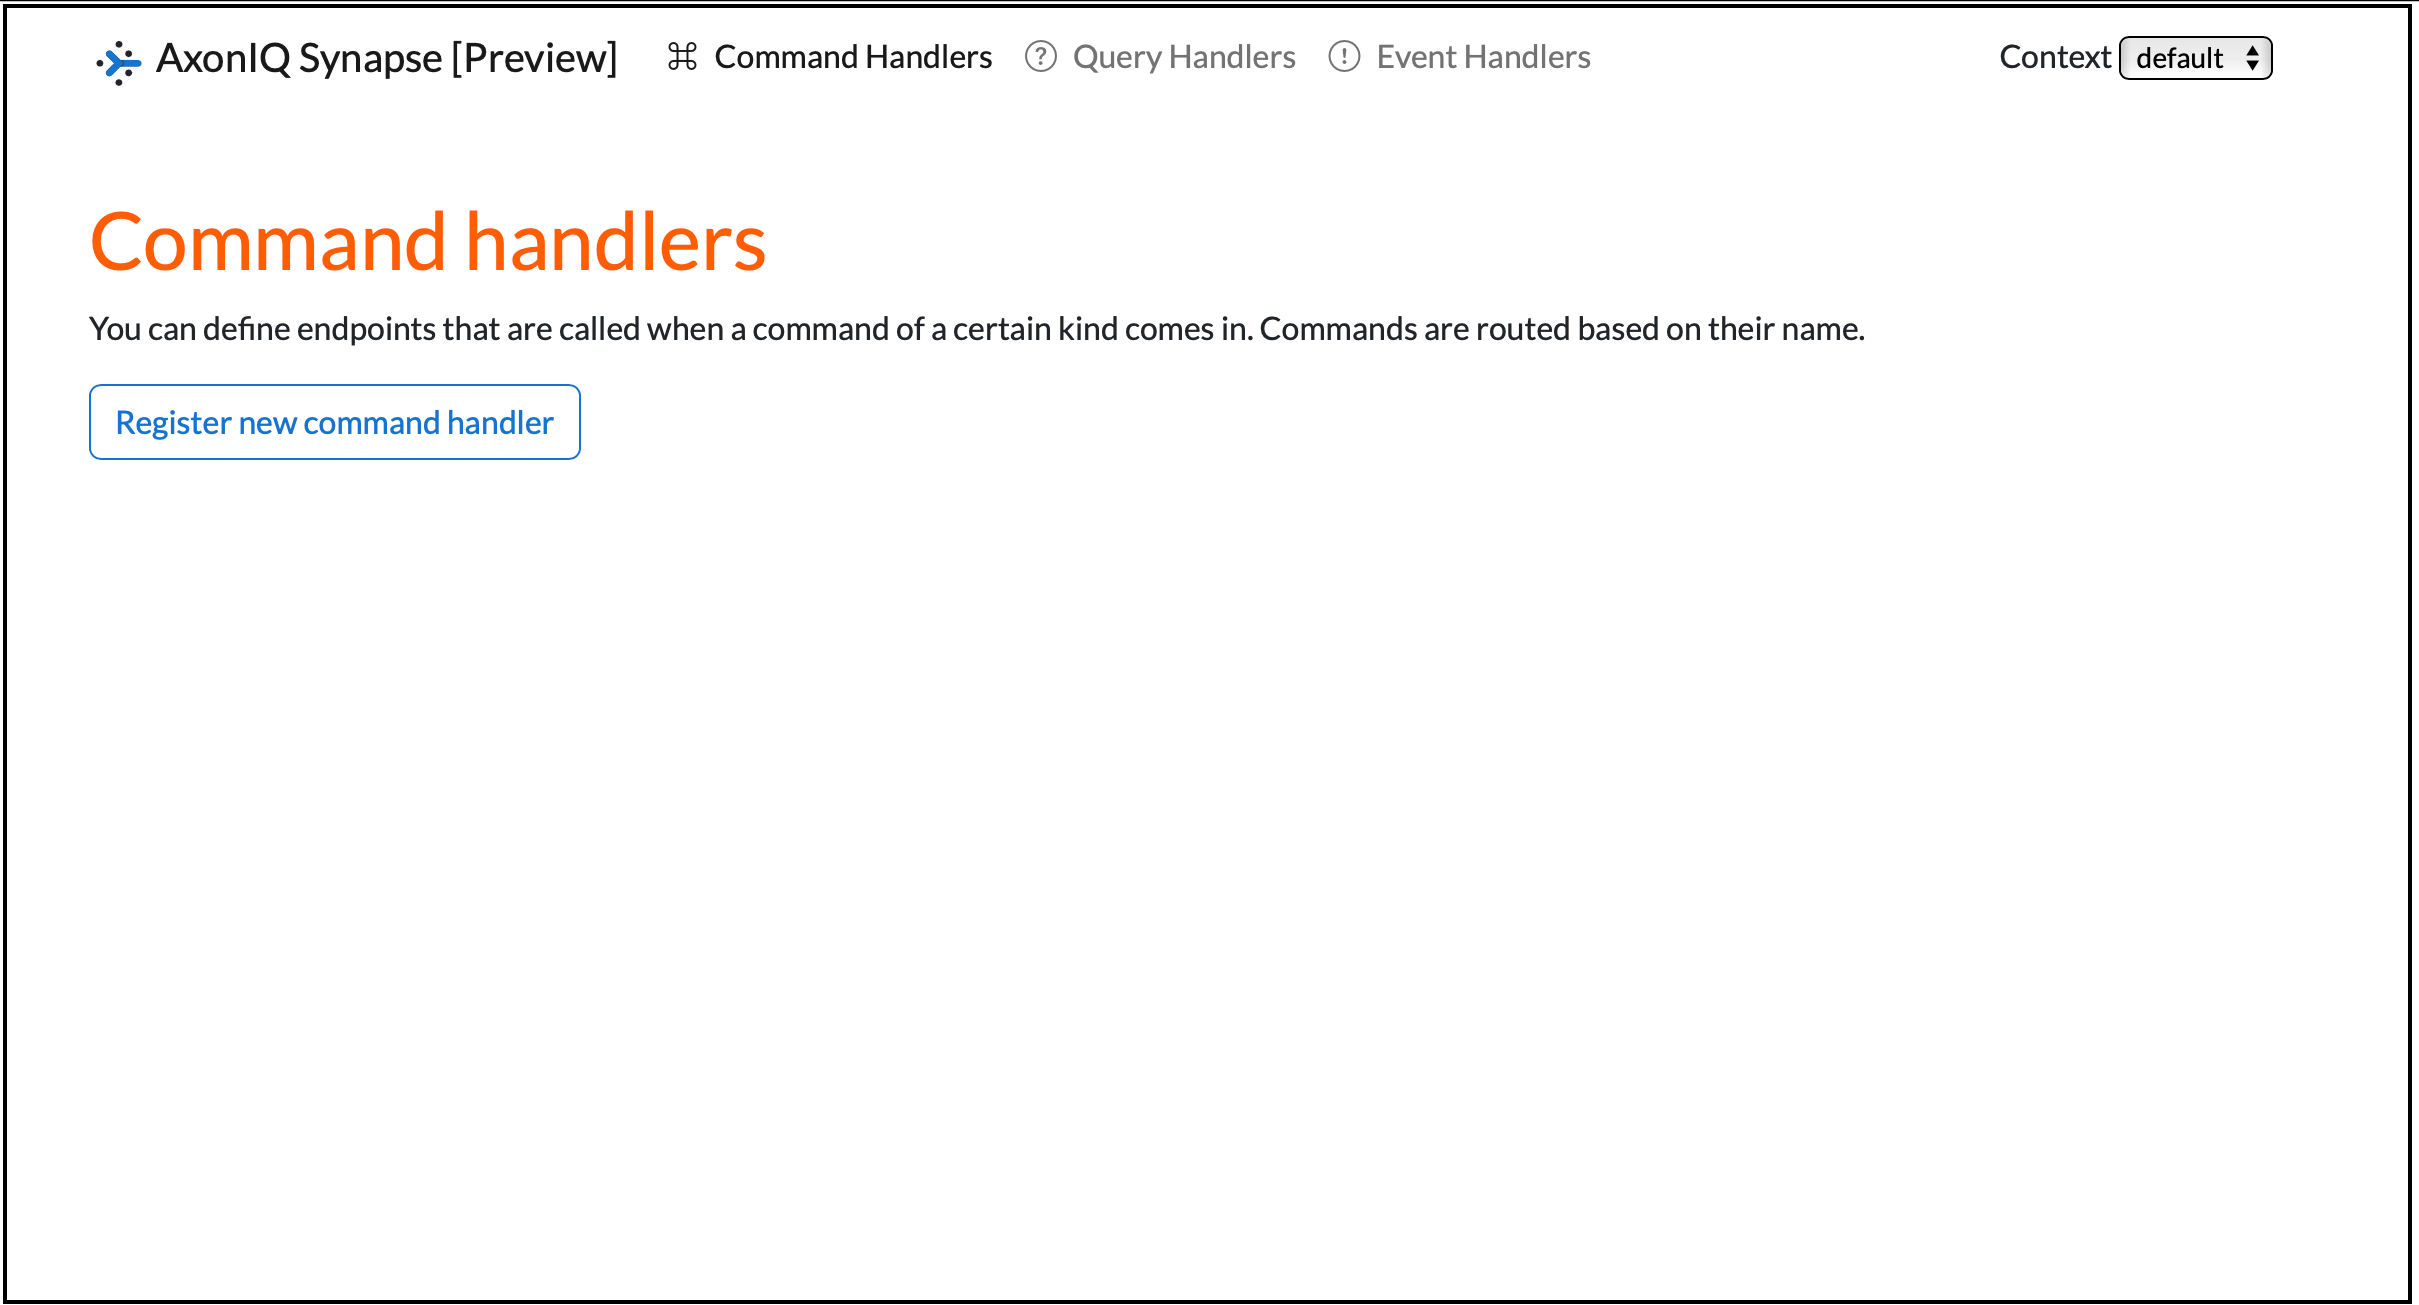
Now you have two applications running and connected to Axon Server: the Giftcard app and Axon Synapse. As previously mentioned, Axon Synapse runs on port 8080, so you can open a browser window to port 8080 to view the admin pages for Axon Synapse.
You’ve just accomplished all the steps necessary to set up and configure Axon Synapse with Axon Server and a demo application.